
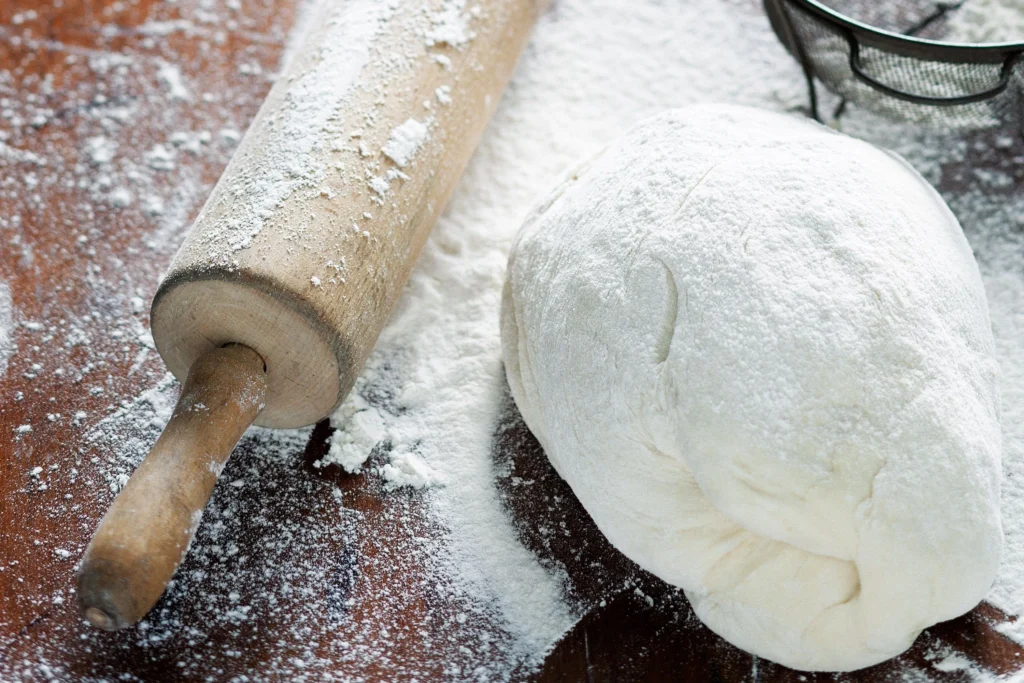
Make your own self-rising flour when you run out of the store-bought kind. It’s great for scones and biscuits. This easy mix of all-purpose flour, baking powder, and salt should be kept in an airtight container in a cool, dry place.
Prep Time: 5 mins
Total Time: 5 mins
Servings: 1 cup
If you need a homemade replacement for store-bought self-rising flour, this recipe is perfect. It uses only a few basic ingredients, so you won’t need a last-minute trip to the grocery store.
What Is Self Rising Flour?
Making your own self-rising flour is very easy. It uses only three ingredients and takes less than a minute to mix.
Self-rising flour is flour that already has leavening agents in it. This helps baked goods rise properly. You don’t need to add extra baking powder or baking soda when you use it.
This flour was created by an English baker named Henry Jones in the mid-1800s. British sailors first used it so they could bake better food while at sea.
It’s perfect for biscuits, pancakes, muffins, and quick breads because it saves time. You don’t have to measure baking powder and salt separately. If you already have your measuring spoon out, you can mix it yourself in under a minute.
How do you adjust the recipe for higher protein flour brands when making your own self-rising flour?
If you use a higher protein flour like King Arthur or Bob’s Red Mill (about 4 grams of protein per ¼ cup), your self-rising flour will act a little differently than lower protein flour like Gold Medal (about 3 grams per ¼ cup). The extra protein changes the texture and structure of your baked goods.
Higher protein means stronger gluten. This can make biscuits or muffins a bit tougher or chewier unless you make small changes.
If you’re using King Arthur or Bob’s Red Mill, try these tips:
Use a light hand when mixing. Mix only until everything is combined. Overmixing makes the dough dense and tough.
Replace 1 tablespoon of flour per cup with cornstarch. Remove 1 tablespoon of all-purpose flour and add 1 tablespoon of cornstarch before adding baking powder and salt. This lowers the protein and makes the flour softer.
Add a little more fat (butter or oil) for biscuits or quick breads. Fat shortens gluten strands and makes the final texture softer.
You don’t have to do this every time, but it helps if you want soft biscuits or muffins like the ones made with lower protein flour. Without these changes, the result may be slightly firmer or more bread-like, which isn’t bad—just different.
For rustic foods like cornbread or savory muffins, the stronger structure from higher protein flour can actually be a good thing. But for soft biscuits or tender cakes, the cornstarch trick works well.
Some things I’ve made with self-rising flour
I use it for quick buttermilk biscuits and cornbread, and it works very well. I’ve also used it for banana muffins and a few quick breads when I didn’t want to measure baking powder and salt separately.
I once used it in waffles, and they turned out extra fluffy. Now I keep a jar ready in my kitchen. It’s a small shortcut that really helps.
What’s In Self Rising Flour?
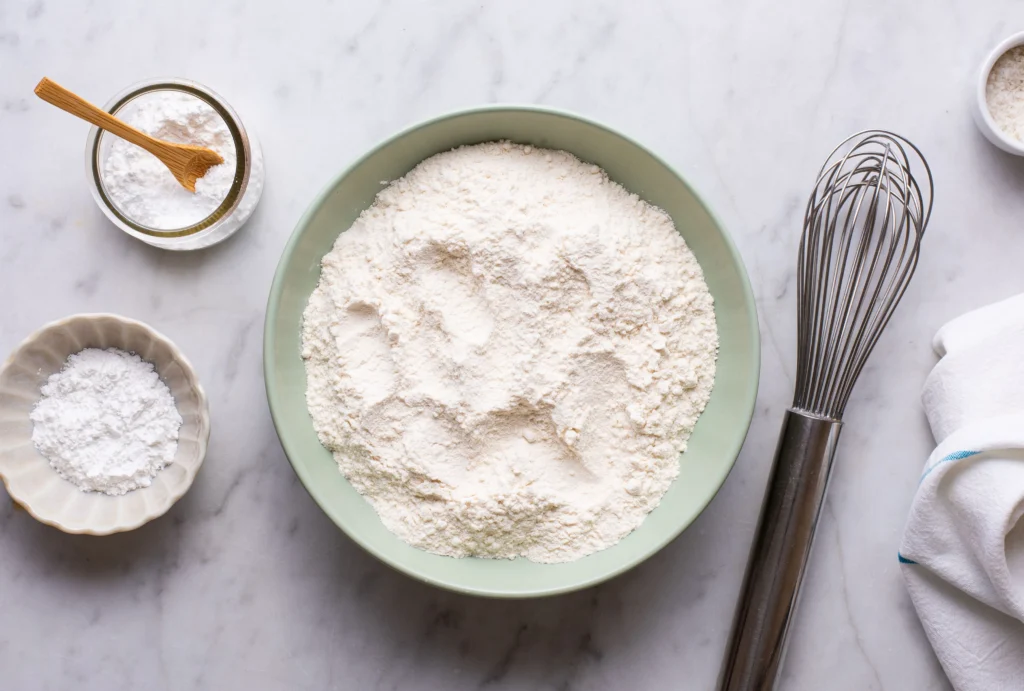
You can make self-rising flour at home with three simple ingredients you probably already have:
Flour: Start with regular all-purpose flour.
Baking powder: Add 1 ½ teaspoons of baking powder to give it the rising effect. This turns all-purpose flour into self-rising flour.
Salt: Add ½ teaspoon of salt to finish the mix.
How to Use Self Rising Flour
If you have extra self-rising flour, you can use it to make soft and fluffy baked goods like biscuits, muffins, pancakes, and quick breads.
How to Store Self Rising Flour
Keep your homemade self-rising flour in an airtight container in a cool, dark place. It will stay good for about one year.
What is the basic ratio for making homemade self rising flour?
For every 1 cup of all-purpose flour, add 1 ½ teaspoons of baking powder and ¼ teaspoon of salt. Mix well so everything is evenly combined.
I usually make a few cups at once and store it in a jar labeled “Self-Rising Flour.” It saves time when I want to bake biscuits or muffins quickly, which happens quite often.
Self Rising Flour Recipe
Ingredients
- 1 cup all-purpose flour
- 1 ½ teaspoons baking powder
- ½ teaspoon salt
Equipment
- Measuring cups and spoons
- Large bowl
- Whisk
Directions
Add the flour, baking powder, and salt to a bowl. Whisk it together until fully mixed. Use immediately or store in an airtight container for up to one month.
Nutrition Facts (per serving)
459 Calories
1g Fat
97g Carbs
13g Protein