
Learn how to make my classic Ninja Creami recipe and use it as a base to create many different variations. There are over 52 flavors you can try.
Looking for more cream recipes? You can Also Try Pistachio Cream
You may have already seen it on Instagram or TikTok, but people who love frozen desserts are really enjoying the instant ice cream maker, the Ninja Creami.
I am someone who truly loves ice cream. Because I love it so much (yes, it’s that serious!), my weekly grocery bill used to include a lot of healthy ice creams. When Ninja first launched the Ninja Creami in 2021, I wasn’t sure about it, but I was curious. Now, four years later, I can honestly say this machine has become a big part of my almost daily sweet treat routine.
What is a Ninja Creami?
Why I love this recipe
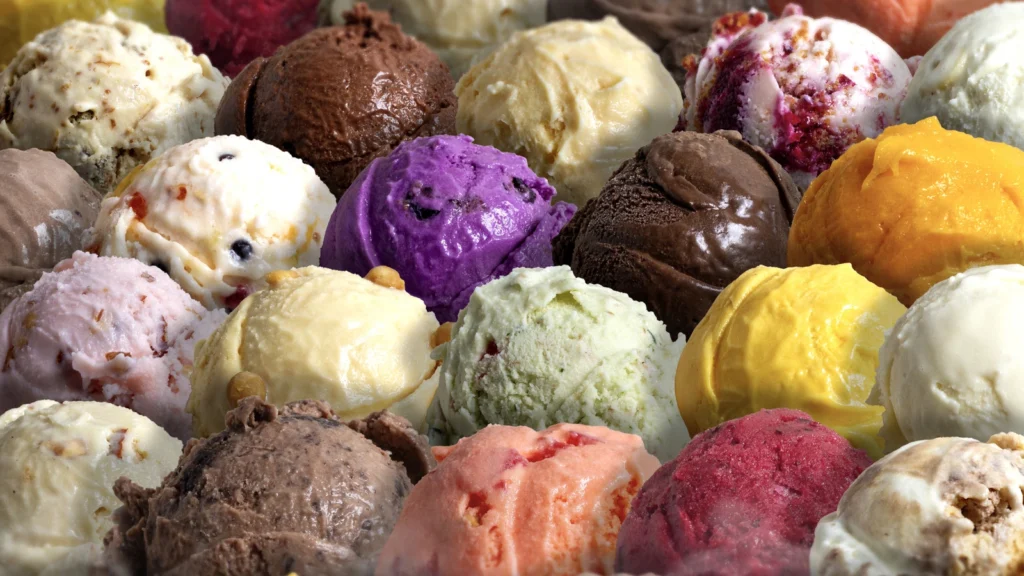
- So many options. I’ve shared 52 flavor ideas for you to try, but honestly, I think I’ve made nearly 200 different combinations. You will never get bored of frozen desserts again.
- Tastes like real ice cream. Even when you use simple and healthy ingredients, it still tastes rich and creamy, just like regular ice cream.
- Simple ingredients. The base recipe only needs 4 or 5 basic pantry ingredients.
- Diet friendly. You can remove dairy, add extra protein, or keep the calories low. It’s easy to adjust based on your diet.
- Perfect portion size. Each batch makes just one pint, so you can enjoy the whole serving without feeling guilty about finishing it in one go.
Ingredients
This is my Ninja Creami vanilla ice cream base recipe, and you can easily use it to create many other flavors and combinations.
- Cream cheese. It may sound unusual, but adding cream cheese to Ninja Creami recipes helps make the dessert extra creamy every time. You can also use vegan, lactose-free, or low-fat options.
- Heavy cream. Also called double cream. Do not use heavy whipping cream, as it can make the texture thinner.
- Milk. Whole milk works best, but you can also use almond milk, oat milk, or non-fat milk.
- Sugar. Use white sugar or superfine sugar. I also tried this recipe with sugar alternatives, and allulose and stevia worked just as well.
- Vanilla extract. You can also use vanilla bean paste instead.
How to make ice cream in a Ninja Creami
I’ve added step-by-step instructions below so you can easily follow this recipe at home. For full printable instructions and exact ingredient amounts, check the recipe card at the end of this post.
Step 1 – Freeze the ingredients and container.
First, melt the cream cheese with a little cream. Then whisk in the sugar until it fully dissolves. Pour the mixture into the Ninja Creami pint container, add the remaining ingredients, and whisk everything together. Put the lid on and place it in the freezer for at least 3 hours.
Step 2 – Churn (Creamify!).
Take the container and attach it to the Ninja Creami ice cream maker. Turn it on and select the ‘ice cream’ or ‘lite ice cream’ setting. Let the machine process it, and use the re-spin function if needed.
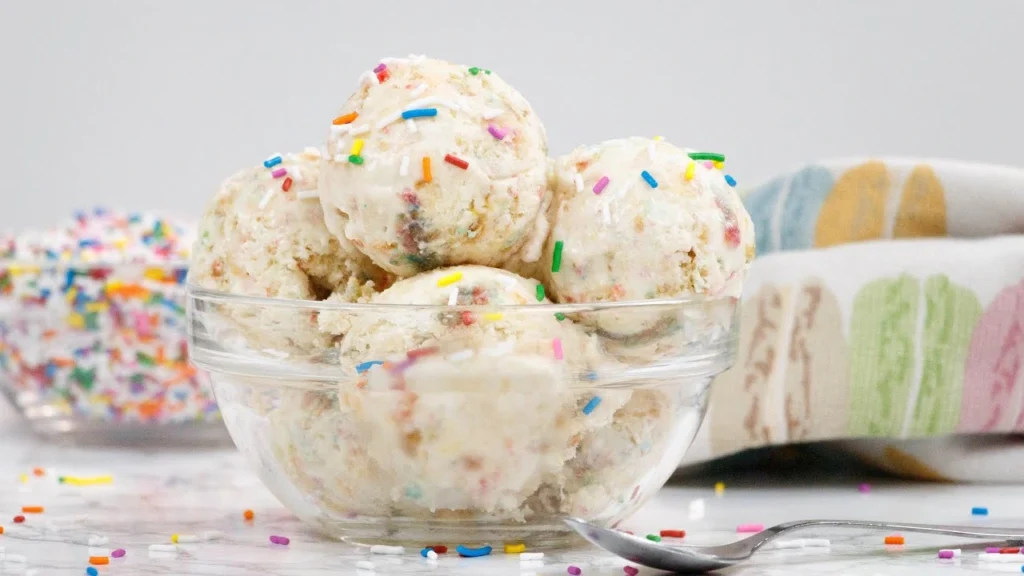
Step 3 – Serve.
Once done, stop the Ninja Creami, scoop the ice cream into bowls, and enjoy.
Jerry’s Tips
- Don’t overfill the container. This is my number one tip. Do not go above the “max” line, or your machine may struggle to churn everything properly. To be safe, fill it about 1/2 an inch below the line, especially if you are adding mix-ins.
- Use the ‘ice cream’ or ‘lite ice cream’ modes only. I find these two settings give the creamiest results. Unless you are making a smoothie bowl or milkshake, it’s better to avoid the gelato or sorbet settings.
- Freeze for at least 3 hours. Ninja suggests freezing for 24 hours, but in my experience, 3 hours is enough to get a creamy texture. If you freeze it for less time, it may turn out more like a smoothie or soft serve.
- Re-churn if needed. Sometimes the top may look crumbly, and that just means it needs more churning. This often happens when you add mix-ins. Don’t worry about running the machine again until you get the texture you like.
- Add mix-ins at the right time. Only add mix-ins when the frozen base is mostly smooth. If you add them too early while it’s still crumbly, they won’t spread evenly.
Flavor ideas
Here are some tried and tested flavor ideas. Keep checking back, as I keep adding more over time.
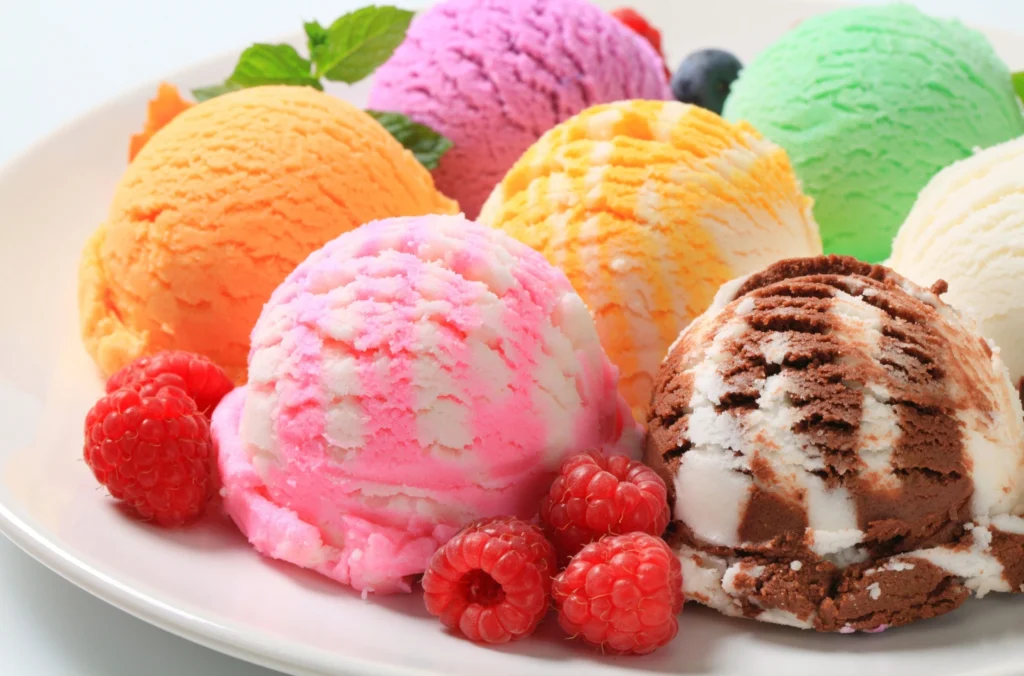
- Mixed berry sorbet. Use 1 cup each of fresh raspberries, blueberries, and strawberries.
- Cookies and cream. Mix 1 tablespoon cream cheese, 1/3 cup sugar, 3/4 cup heavy cream, 1 cup milk, and 3–4 sandwich or Oreo cookies.
- Chocolate high-protein ice cream. Use 1 3/4 cups ready-made chocolate protein shake and 2 tablespoons chocolate pudding mix (regular or sugar-free).
- Banana cream pie ice cream. Add 1 overripe banana and some crushed graham crackers.
- Cinnamon roll protein ice cream. Use 1 3/4 cups ready-made cinnamon roll protein shake (or protein powder mixed with milk), 2 tablespoons vanilla pudding mix (regular or sugar-free), and 1/2 teaspoon cinnamon.
- Mango sorbet. Use 15 ounces of canned or packaged mango pieces in their juice.
- Pineapple sorbet. Use 15 ounces of canned or packaged pineapple chunks in their juice.
- Frozen yogurt. Use 16 ounces of vanilla yogurt or any flavored yogurt you like.
- Mint chocolate chip ice cream. Mix 1/3 cup sugar, 1 teaspoon peppermint extract, 3/4 cup heavy cream, 1 cup whole milk, 1/4 teaspoon green food coloring, and 1/4 cup chocolate chips.
- Chocolate ice cream. Combine 2 tablespoons cocoa powder, 1/3 cup sugar, 1 teaspoon vanilla extract, 3/4 cup heavy cream, and 1 cup milk.
- Vegan ice cream. Replace the milk with coconut milk and use dairy-free cream instead.
Storage instructions
To re-freeze: On the rare occasion that I can’t finish the whole pint of ice cream in one sitting, I simply re-freeze it, and it still turns out great. When you’re ready to eat it again, just treat it like a freshly frozen dessert and churn it again in the machine.
Recommended tools
Ninja Creami ice cream machine. This is the main tool you need to make all these frozen desserts.
Pint containers. Having extra containers is very helpful, so you don’t have to wait to re-freeze one batch before making another. I usually keep 3 containers ready in my freezer at all times.
Ninja Creami Recipe
Prep: 1 minute
Cook: 3 minutes
Total: 4 minutes
Servings 4
Learn how to make my classic Ninja Creami recipe and use it as a base to create many different variations. There are over 52 flavors you can try.
Ingredients
- 1/2 ounce cream cheese
- 1/3 cup sugar
- 3/4 cup heavy cream
- 1 cup milk
- 1 teaspoon vanilla extract
Instructions
- Microwave the cream cheese with 1 tablespoon of cream until it becomes soft. Transfer it to a Ninja Creami pint container, then add the sugar and vanilla. Whisk everything together until the sugar fully dissolves. Slowly pour in the remaining cream and milk, mixing until everything is well combined.
- Place the lid on the pint container and put it in the freezer for at least 3 hours.
- Once frozen, remove the lid and attach the container to the Ninja Creami. Select the “ice cream” or “lite ice cream” setting and let it run through a full cycle. If the texture looks crumbly, use the re-spin function until it becomes smooth and creamy. If you want to add mix-ins, add them now and use the mix-in option.
- Take the pint out of the machine and scoop the ice cream into bowls right away.
Notes
To store: Ninja Creami desserts taste best when eaten within 2 days of making them. If the dessert becomes too hard, let it sit at room temperature for 10–15 minutes before scooping.
Nutrition
- Serving: 1serving
- Calories: 235kcal
- Carbohydrates: 19g
- Protein: 2g
- Fat: 17g
- Sodium: 106mg
- Potassium: 53mg
- Fiber: 0.2g
- Sugar: 18g
- Vitamin A: 676IU
- Vitamin C: 0.3mg
- Calcium: 110mg
- Iron: 0.1mg
- NET CARBS: 19g